

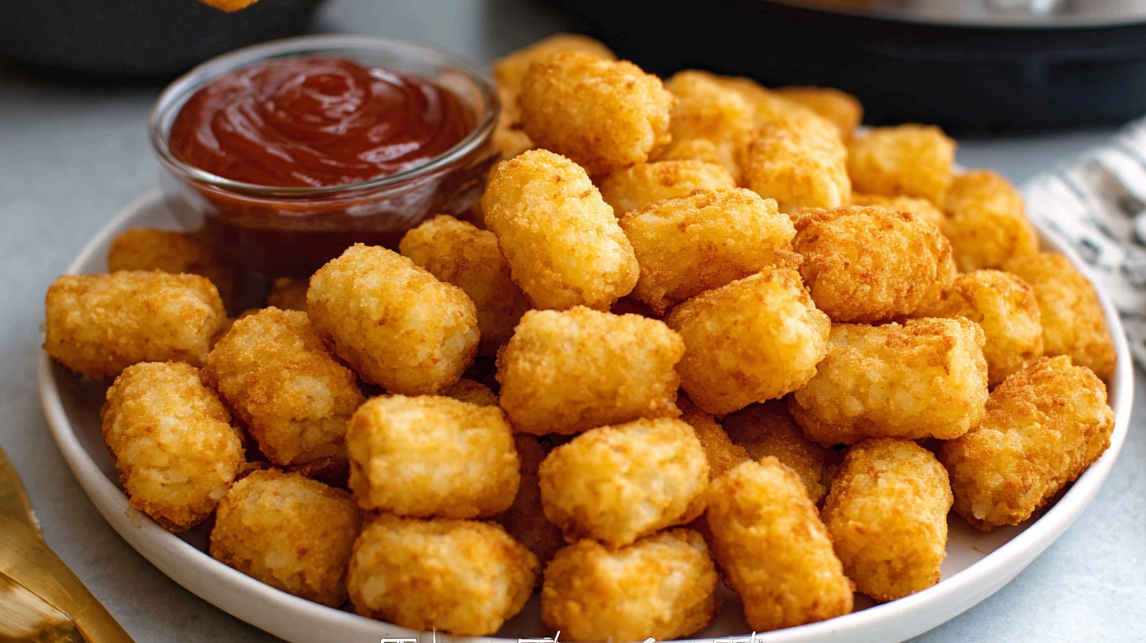
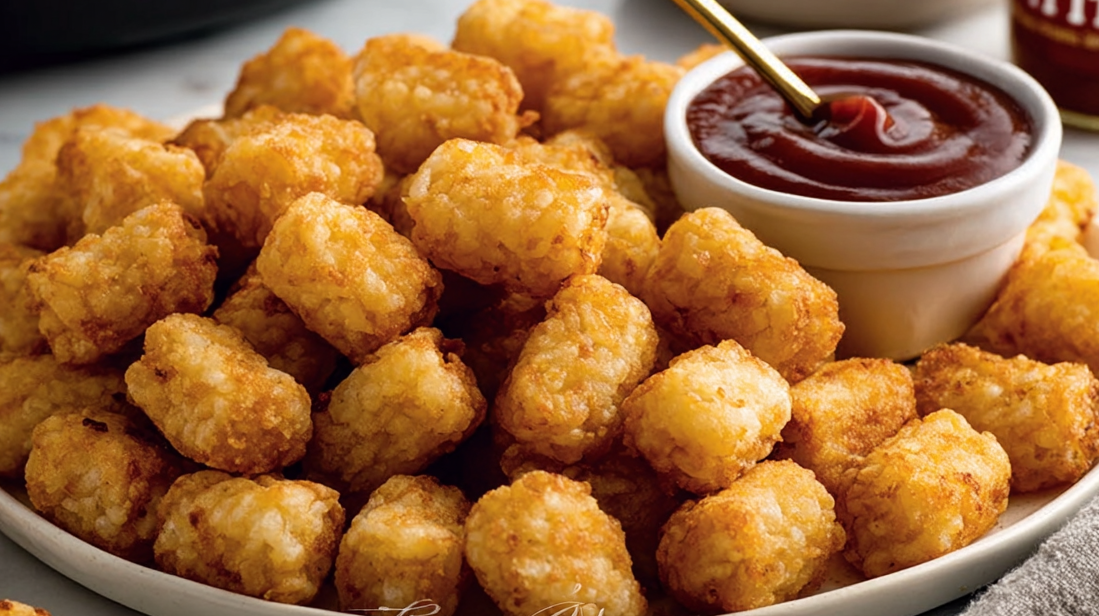
Indulge in the ultimate snack or side dish with Air Fryer Ore Ida Tater Tots. These golden nuggets of potato perfection are the answer to your cravings, promising a quick, crispy, and oh-so-delicious experience. And when prepared in an air fryer, they level up to new heights of deliciousness. With a perfectly golden exterior that boasts a satisfying crunch, and a fluffy interior that melts in your mouth, air-fried Ore Ida Tater Tots are the ultimate treat.
What Makes Ore Ida Tater Tots Perfect for Air Frying?
Ore Ida Tater Tots are a classic American favorite, made from premium potatoes and seasoned to perfection. Here’s why they’re the ideal candidate for air frying:
- Convenient Size and Shape: Their small, uniform cylinders crisp up evenly in an air fryer.
- Pre-Seasoning: They come ready to cook with just the right amount of salt and flavor.
- Frozen Texture: The frozen coating creates a crispy exterior when air-fried.
- Versatility: These tots pair well with countless recipes, from breakfast casseroles to appetizers.
An air fryer enhances these qualities to give you that classic restaurant-style crunch while keeping things efficient and healthy.
Benefits of Cooking Tater Tots in an Air Fryer
Why choose air frying over traditional oven-baking or deep-frying? Here are some key benefits you’ll enjoy when using an air fryer for Ore Ida Tater Tots:
- Healthier Option: Air fryers use little to no oil, making this a healthier alternative to deep-frying.
- Crispier Texture: The circulating hot air ensures a uniform, crispy layer on every tot.
- Quick and Efficient: Air fryers preheat and cook faster than traditional ovens.
- Convenience: There’s no need to worry about turning or flipping the tots—most air fryers handle it for you.
Step-by-Step Preparation of Frozen Ore Ida Tater Tots
Ingredients:
- Frozen Ore Ida Tater Tots
- Optional seasonings or spices (such as salt, pepper, garlic powder, or paprika)
Instructions:
- Preheat your air fryer to 400°F (200°C) for a few minutes.
- Arrange the frozen Tater Tots in a single layer in the air fryer basket. Avoid overcrowding to ensure even cooking and crispy results.
- If desired, sprinkle seasonings or spices over the Tater Tots for added flavor.
- Place the basket into the air fryer and set the timer for 12–15 minutes.
- After 6-8 minutes of cooking, pause and carefully shake the basket to ensure even cooking. This step promotes an evenly crispy texture.
- Return the basket to the air fryer and continue cooking until the Tater Tots are golden brown and crispy.
- Once the timer goes off, carefully remove the Tater Tots from the air fryer using tongs or a spatula.
- Serve immediately while they are hot and enjoy the crispy, delicious Tater Tots!
Note: Cooking times may vary depending on the air fryer model and personal preference. It’s always a good idea to check the Tater Tots for your desired level of crispiness during cooking and adjust the cooking time accordingly.
Best Air Fryer Settings for Ore Ida Tater Tots
Cooking Ore Ida Tater Tots in an air fryer is a convenient and delicious way to enjoy crispy tots. To achieve the ideal results, follow these steps:
- Preheat your air fryer to 400°F (200°C) for optimal cooking.
- Spread the frozen Tater Tots in a single layer in the air fryer basket, ensuring they are not overcrowded. This allows for even air circulation and crispiness.
- Cook the Tater Tots for 12-15 minutes at 400°F (200°C), flipping or shaking the basket halfway through to ensure even browning.
- Check the Tater Tots for your desired level of crispiness during cooking and adjust the cooking time accordingly. If you prefer them slightly softer, reduce the time by 2 minutes. For extra crispy results, add an additional 2-3 minutes, checking carefully to avoid burning.
- Once the Tater Tots are golden brown and crispy, carefully remove them from the air fryer using tongs or a spatula.
- Serve immediately while they are hot and enjoy the irresistible crunch of perfectly cooked Ore Ida Tater Tots!
Note: Cooking times may vary depending on the air fryer model and personal preference. Experiment with different temperatures and times to achieve your desired level of crispiness.
Air Fryer Tater Tots Temperature and Time Chart
| Temperature | Time (Minutes) | Texture |
|---|---|---|
| 375°F | 14–16 | Soft |
| 400°F | 12–15 | Crispy |
| 425°F | 10–12 | Extra Crispy |
Ore Ida Tater Tots Cooking Instructions for Beginners
Cooking Ore Ida Tater Tots in an air fryer is a breeze, even for beginners. Follow these simple steps for delicious and crispy results:
- Preheat the Air Fryer: Preheat your air fryer to the recommended temperature for the desired texture (refer to the temperature and time chart below).
- Spread the Tater Tots: Place a single layer of frozen Tater Tots in the air fryer basket, ensuring they are evenly spaced for optimal cooking.
- Cooking Time: Set the cooking time according to the recommended time in the temperature and time chart below.
- Shake or Flip: Halfway through the cooking time, shake the basket or flip the Tater Tots to ensure even crisping.
- Check for Doneness: Check the Tater Tots for your desired level of crispiness. Cook for additional time if needed.
- Serve and Enjoy: Serve the hot and crispy Ore Ida Tater Tots immediately while they are at their best.
Experiment with different temperatures and cooking times to achieve your preferred level of crispiness. Remember, cooking times may vary depending on the air fryer model and personal preference. Enjoy the irresistible crunch of perfectly cooked Ore Ida Tater Tots!
Air Fryer Tater Tots Temperature and Time Chart
| Temperature | Time (Minutes) | Texture |
|---|---|---|
| 375°F | 14–16 | Soft |
| 400°F | 12–15 | Crispy |
| 425°F | 10–12 | Extra Crispy |
Delicious Recipes Using Air Fryer Ore Ida Tater Tots
The versatility of Ore Ida Tater Tots goes beyond a simple side dish. With the help of an air fryer, you can transform these golden delights into mouthwatering recipes. Here’s a step-by-step guide to creating two delectable dishes using Air Fryer Ore Ida Tater Tots:
1. Loaded Tater Tot Nachos
Step 1: Preheat your air fryer to 400°F.
Step 2: Spread a layer of frozen Tater Tots in the air fryer basket, ensuring they are evenly spaced.
Step 3: Cook the Tater Tots for 12-15 minutes or until they reach your desired level of crispiness.
Step 4: While the Tater Tots are cooking, prepare your nacho toppings. Grate some cheddar cheese, chop fresh tomatoes, dice red onions, and slice jalapeños.
Step 5: Once the Tater Tots are crispy, transfer them to an oven-safe dish or a cast-iron skillet.
Step 6: Sprinkle the grated cheddar cheese over the Tater Tots, followed by the chopped tomatoes, diced red onions, and sliced jalapeños.
Step 7: Place the dish or skillet under the broiler for a few minutes until the cheese is melted and bubbly.
Step 8: Remove from the oven and top with sour cream, guacamole, and fresh cilantro. Serve your loaded Tater Tot nachos immediately and enjoy!
2. Tater Tot Breakfast Casserole
Step 1: Preheat your air fryer to 375°F.
Step 2: Arrange a single layer of frozen Tater Tots in the air fryer basket.
Step 3: Cook the Tater Tots for 14-16 minutes or until they are soft and lightly golden.
Step 4: In the meantime, prepare your breakfast casserole ingredients. Whisk together eggs, milk, salt, and pepper in a mixing bowl. Add cooked bacon, shredded cheese, diced bell peppers, and chopped green onions.
Step 5: Once the Tater Tots are cooked, transfer them to a greased baking dish.
Step 6: Pour the egg mixture over the Tater Tots, ensuring they are evenly coated.
Step 7: Bake the casserole in a preheated oven at 375°F for 25-30 minutes or until the eggs are set and the top is golden brown.
Step 8: Remove from the oven and let it cool for a few minutes before serving. Slice into portions and savor your scrumptious Tater Tot breakfast casserole.
Get creative and experiment with other ingredients and flavors to customize these recipes according to your preferences. Air Fryer Ore Ida Tater Tots are the perfect canvas for culinary creativity. Enjoy the crispy goodness in every bite!
Making Tater Tots in a Ninja Air Fryer: A Detailed Guide
Air fryers have revolutionized the way we cook, offering a healthier alternative to traditional frying methods. If you’re a fan of crispy and delicious Tater Tots, here’s a step-by-step guide on how to make them in a Ninja Air Fryer.
Ingredients:
- Frozen Tater Tots
- Cooking spray or oil (optional)
- Salt and other seasonings (optional)
Instructions:
- Preheat the Air Fryer: Start by preheating your Ninja Air Fryer to the recommended temperature for Tater Tots. This is typically around 400°F (200°C).
- Prepare the Tater Tots: Arrange the frozen Tater Tots in a single layer in the air fryer basket. Avoid overcrowding to ensure even cooking and crispy results.
- Spray with Oil (Optional): For an extra crispy finish, lightly spray the Tater Tots with cooking spray or toss them in a small amount of oil. This step is optional but can enhance the crunchiness of the Tater Tots.
- Seasoning (Optional): If desired, sprinkle your Tater Tots with salt or any other seasonings of your choice. Get creative and experiment with flavors to suit your taste preferences.
- Air Fry: Place the basket into the Ninja Air Fryer and set the cooking time according to the package instructions for Tater Tots, usually around 15-20 minutes. Make sure to shake the basket halfway through the cooking time to ensure even browning.
- Check for Doneness: After the recommended cooking time, check the Tater Tots for doneness. They should be golden brown and crispy. If needed, cook for an additional few minutes for an extra crispy texture.
- Serve and Enjoy: Once cooked to your desired crispness, carefully remove the Tater Tots from the air fryer basket using tongs or a spatula. Serve them hot as a delicious snack or side dish.
Tips for Perfect Tater Tots in the Air Fryer:
- Avoid Overcrowding: Ensure that the Tater Tots are arranged in a single layer in the air fryer basket, allowing for proper airflow and even cooking.
- Shake the Basket: Give the basket a gentle shake halfway through the cooking process to ensure that all sides of the Tater Tots are evenly cooked.
- Experiment with Seasonings: Feel free to get creative and add your favorite seasonings or spices to customize the flavor of your Tater Tots.
Now that you have your Ninja Air Fryer Tater Tot recipe ready, it’s time to enjoy these crispy delights guilt-free!
Air Fried vs. Oven-Baked Tater Tots: What’s the Difference?
| Air Fried | Oven-Baked |
|---|---|
| Crispier texture | Less crispy |
| Faster cook time | Longer cook time |
| Healthier with less oil | May require more oil |
Nutritional Benefits of Air Fried Ore Ida Tater Tots
Air frying Ore Ida Tater Tots offers a healthier alternative to traditional frying methods while still delivering the satisfying crunch and delicious flavor. Here are some nutritional benefits of air fried Tater Tots:
- Lower Fat Content: Air frying requires significantly less oil compared to deep frying, resulting in lower overall fat content in the Tater Tots. This makes them a healthier choice for those watching their fat intake.
- Reduced Calorie Intake: By reducing the amount of oil used in the cooking process, air fried Tater Tots have lower calorie content compared to their deep-fried counterparts. This can be beneficial for individuals aiming to manage their calorie intake while still enjoying a crispy snack.
- Less Grease: Air frying helps to remove excess grease from the Tater Tots, resulting in a lighter and less greasy end product. This can be appealing to those who prefer a cleaner eating experience.
- Retained Nutrients: Air frying preserves more nutrients in the Tater Tots compared to deep frying, as it uses less heat and shorter cooking times. This helps to retain the natural goodness of the potatoes while still achieving a crispy texture.
While air frying can enhance the nutritional profile of Ore Ida Tater Tots, it’s important to remember that moderation is key in maintaining a balanced diet. Enjoy air fried Tater Tots as part of a well-rounded meal or snack, complemented by a variety of nutritious foods.
Conclusion
In conclusion, Tater Tots can be enjoyed fresh, reheated from refrigerated, or even prepared in advance and frozen for later use. Whether you’re craving a quick snack or planning a larger batch, these tips will ensure you achieve the perfect balance of crispiness and reheating time. So go ahead and indulge in the irresistible delight of air fried Tater Tots, knowing that you can enjoy them anytime with these convenient methods. Enjoy the crispy goodness!
FAQs
Q: Can I store leftover Tater Tots in the refrigerator?
A: Absolutely! Once cooked, you can store any leftover Tater Tots in the refrigerator for up to 2-3 days. Just ensure they are properly sealed in an airtight container or resealable bag.
Q: Can I reheat refrigerated Tater Tots in the microwave?
A: While it is possible to reheat refrigerated Tater Tots in the microwave, it may result in a loss of crispiness. It is recommended to use the air fryer or oven for optimal reheating and to maintain their crispy texture.
Q: Can I season Tater Tots before reheating?
A: Yes, you can add seasonings or additional spices to your Tater Tots before reheating them. This can enhance their flavor and provide a delightful twist to the crispy goodness.
Q: Can I use an alternative cooking method for reheating Tater Tots?
A: Absolutely! While the air fryer and oven are popular methods, you can also reheat Tater Tots in a skillet or frying pan with a small amount of oil. This method can help to achieve a similar crispy texture.
Q: Can I freeze uncooked Tater Tots for later use?
A: Yes, you can freeze uncooked Tater Tots for future use. Simply arrange them on a baking sheet or tray, ensuring they are not touching, and place them in the freezer until they are firm. Once frozen, transfer them to a resealable bag or airtight container for storage.
Q: Can I air fry frozen Tater Tots directly from the freezer?
A: Absolutely! Air frying frozen Tater Tots directly from the freezer is convenient and easy. Simply place them in the air fryer and follow the recommended cooking time and temperature mentioned earlier in this guide.
Q: Can I use Tater Tots in other recipes?
A: Yes, Tater Tots can be a versatile ingredient in various recipes. They can be used in casseroles, as a topping for shepherd’s pie, or even as a filling for breakfast wraps or burritos. Get creative and explore different ways to enjoy the deliciousness of Tater Tots in your favorite dishes!
Remember, these guidelines and tips are meant to enhance your Tater Tot experience. Feel free to experiment and find the methods that suit your taste preferences and desired level of crispiness. Enjoy your crispy Tater Tots!